We recently moved and my wife had a request.
She wanted something tall to change the visual weight of the room.
I agreed with her (she has a vision and who am I to stand in her way?) and she sent me this:
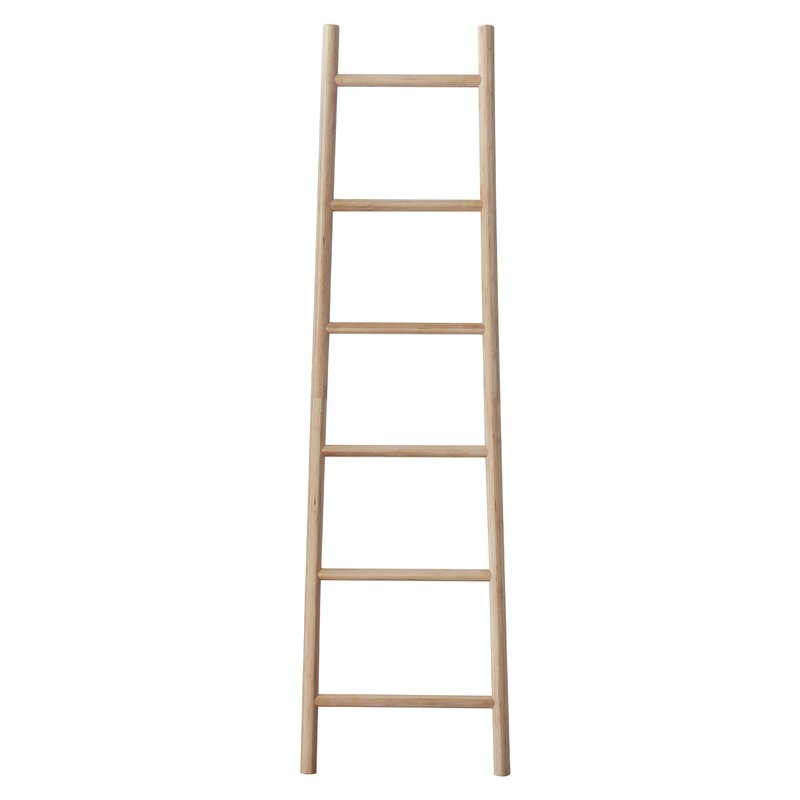
It’s a nice piece of furniture and solid wood. The only problem is that it’s 200$ USD and backordered for 4 months. This article was written in early 2022 if you can’t tell (hopefully you’re reading this and supply chain issues are less of a worry).
I thought, how hard could that be to make myself? Rockler sells some nice 1" (25mm) rods that I could buy and cut. Except they only had one 1" rod but plenty of 3/4" (19mm) rods. So 3/4" it was. Looking back, I wish I had ordered/waited for the 1" ones as they would have looked better. Strength wise, the 3/4" ones are just fine.
I found some old wood in the garage that was nice and long but only 3/4" thick. I face jointed them and planed them until they were smooth enough to glue together. After clamping them up, I ripped it down the middle to form two squares, each a little under 1.5" (38mm) thick.
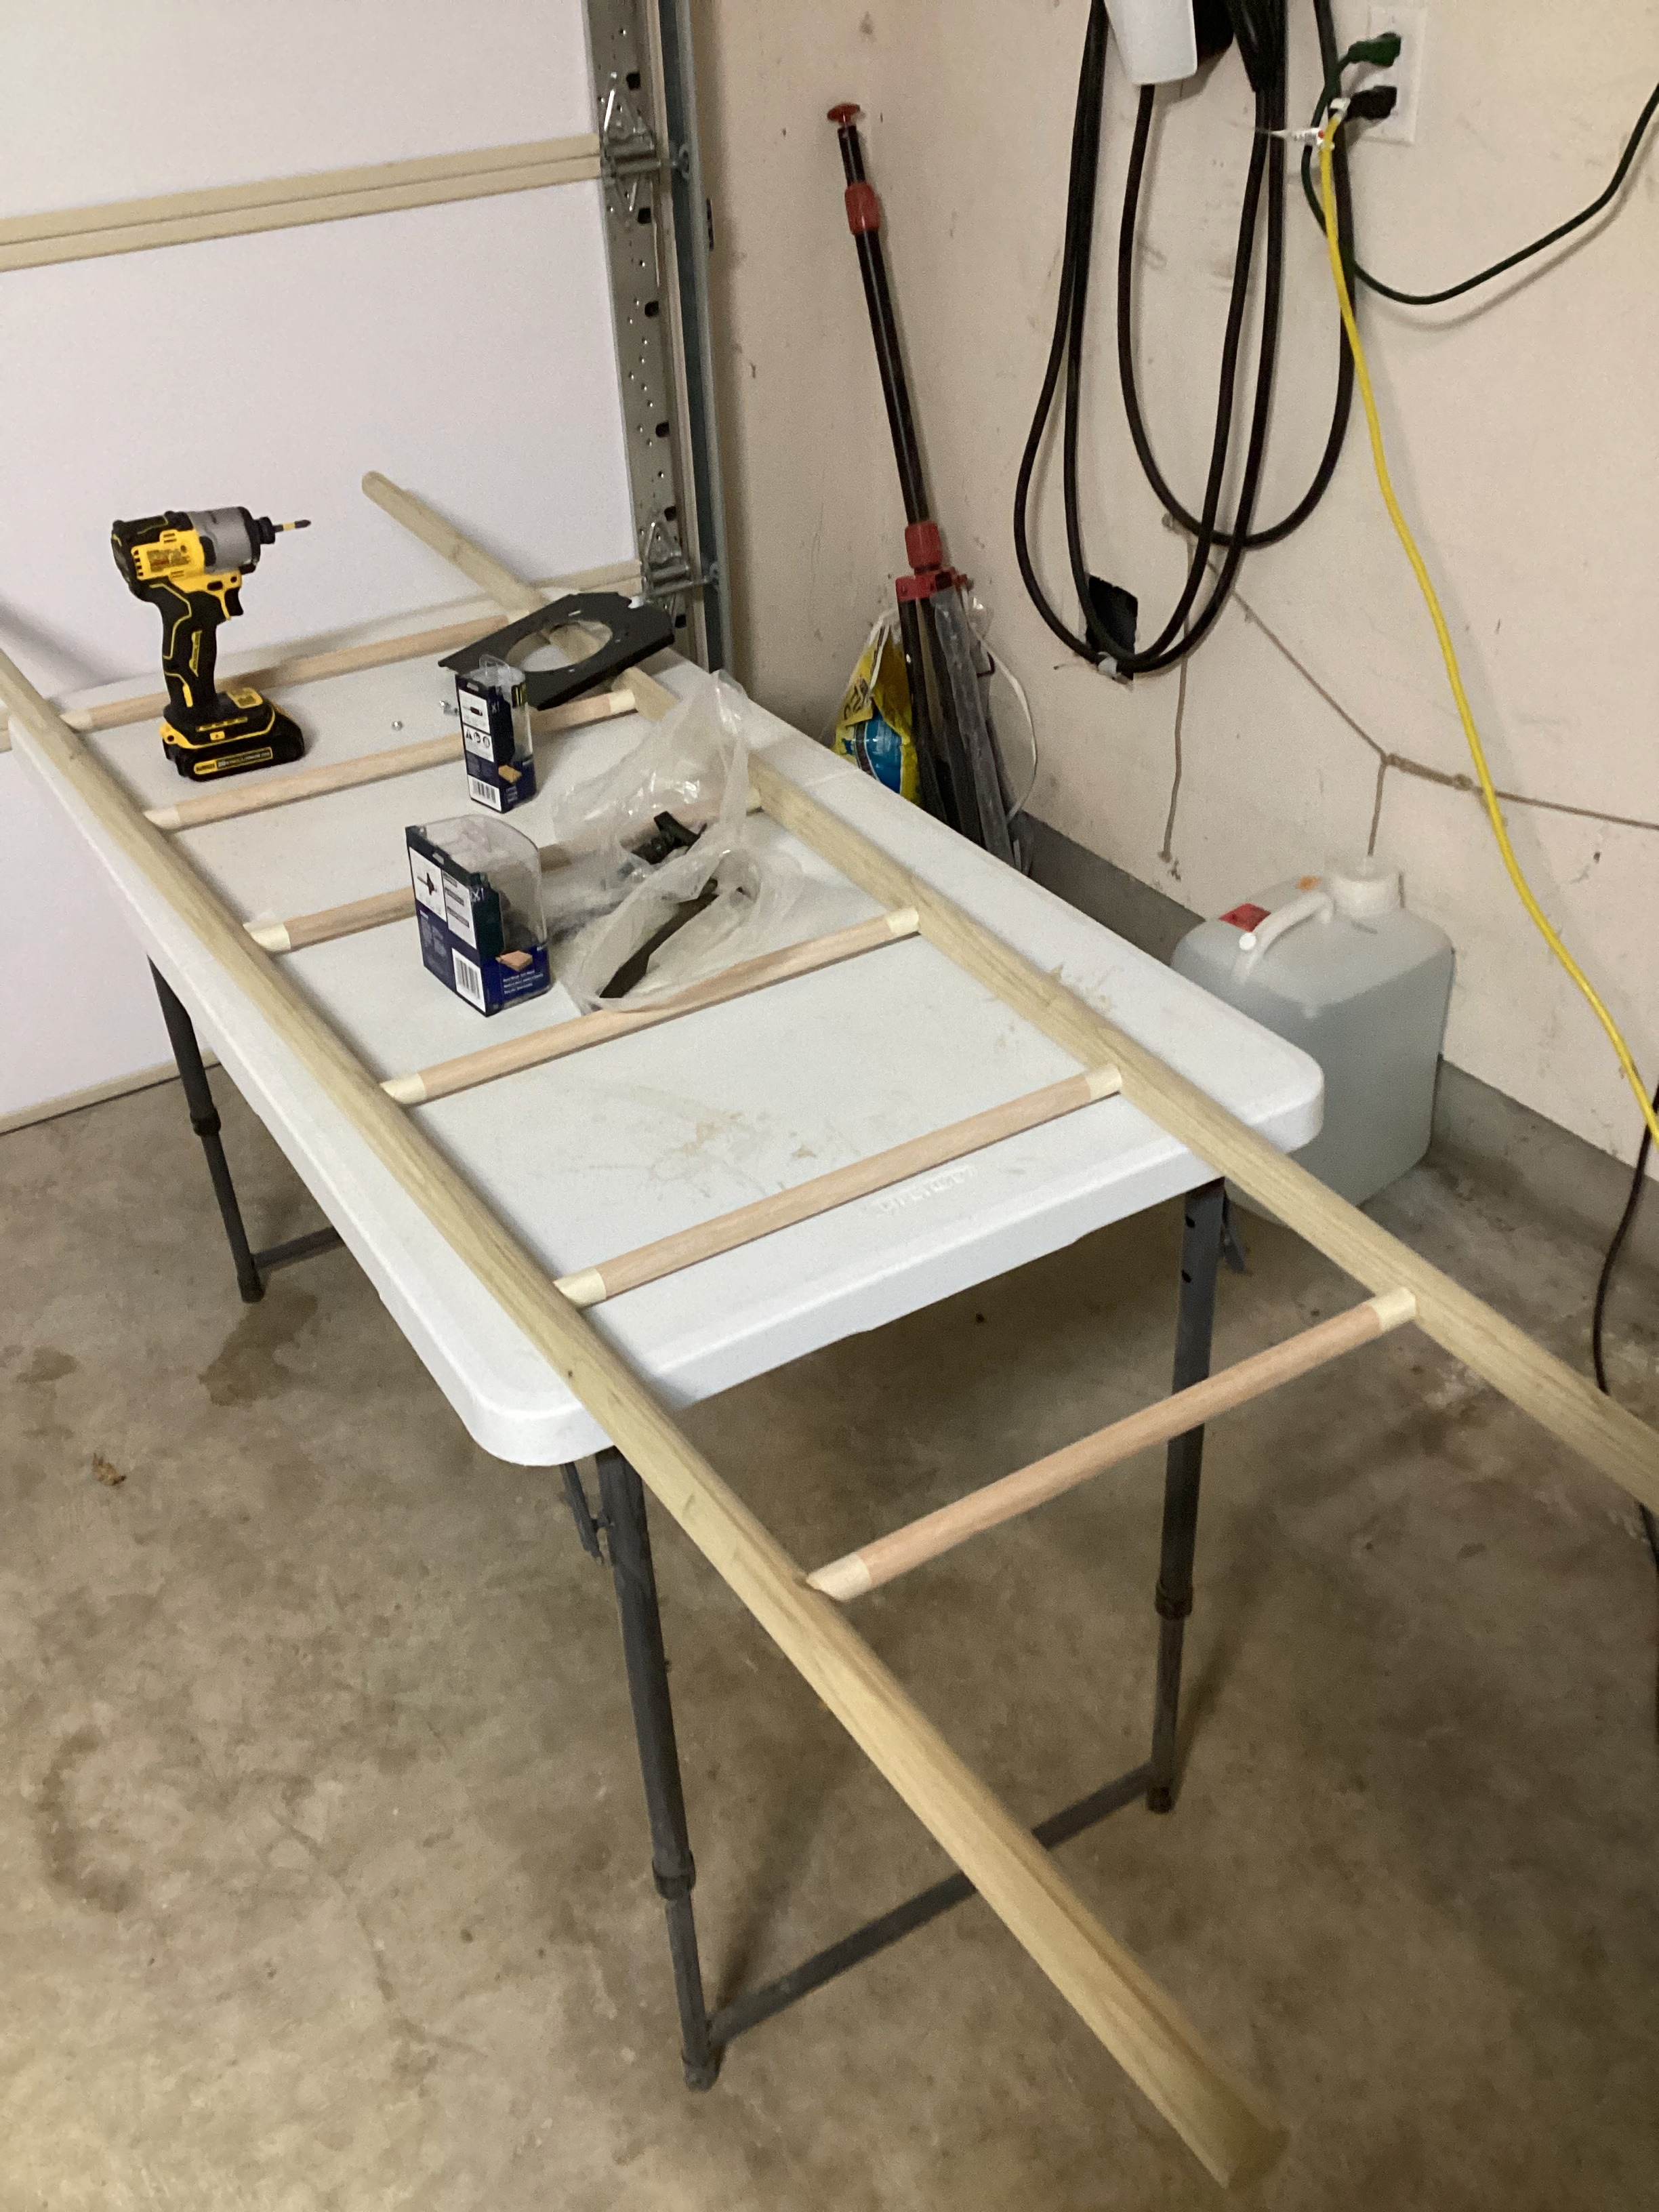
Since my garage woodworking setup doesn’t have a drill press (yet) I got out my square and did my best to just drill with my 3/4" bit with a piece of tape to mark the depth. The holes weren’t perfect but they worked alright. If I were to do this again, I’d invest in a drill press.
Cutting the rods involved a little math. Using paint.net I was able to guess that the angle was around 2 degrees, so that’s what I went for. I measured the holes I drilled and then did some geometry. Out of all the high school subjects I hated, geometry has been the most useful. Though I hated the geometric proofs and have never needed them.
Since I wanted the outside rails to be round, I rounded the edges that the holes in them as I wouldn’t be able to round them once it was glued up. A massive 3/4" roundover bit did the trick but made a huge mess. I left the outside edges not round as I wanted to have two nice flat surfaces for glue up.
Image not found rounding_test.jpg : image alt text
Then it was time for glue up.
I cut little blocks at 2 degrees to make sure the angles were correct.
Getting it straight was also a challenge and I feel like it has a slight tilt to it
Next time I’ll cut a 2 degree angle in a long piece of wood and have that as a reference edge in clamping on both sides.
I was adjusting as the glue dried and ran out of time as it got hard and harder to make small adjustments.
 ß
After it dried it was time to test it against the wall.
ß
After it dried it was time to test it against the wall.

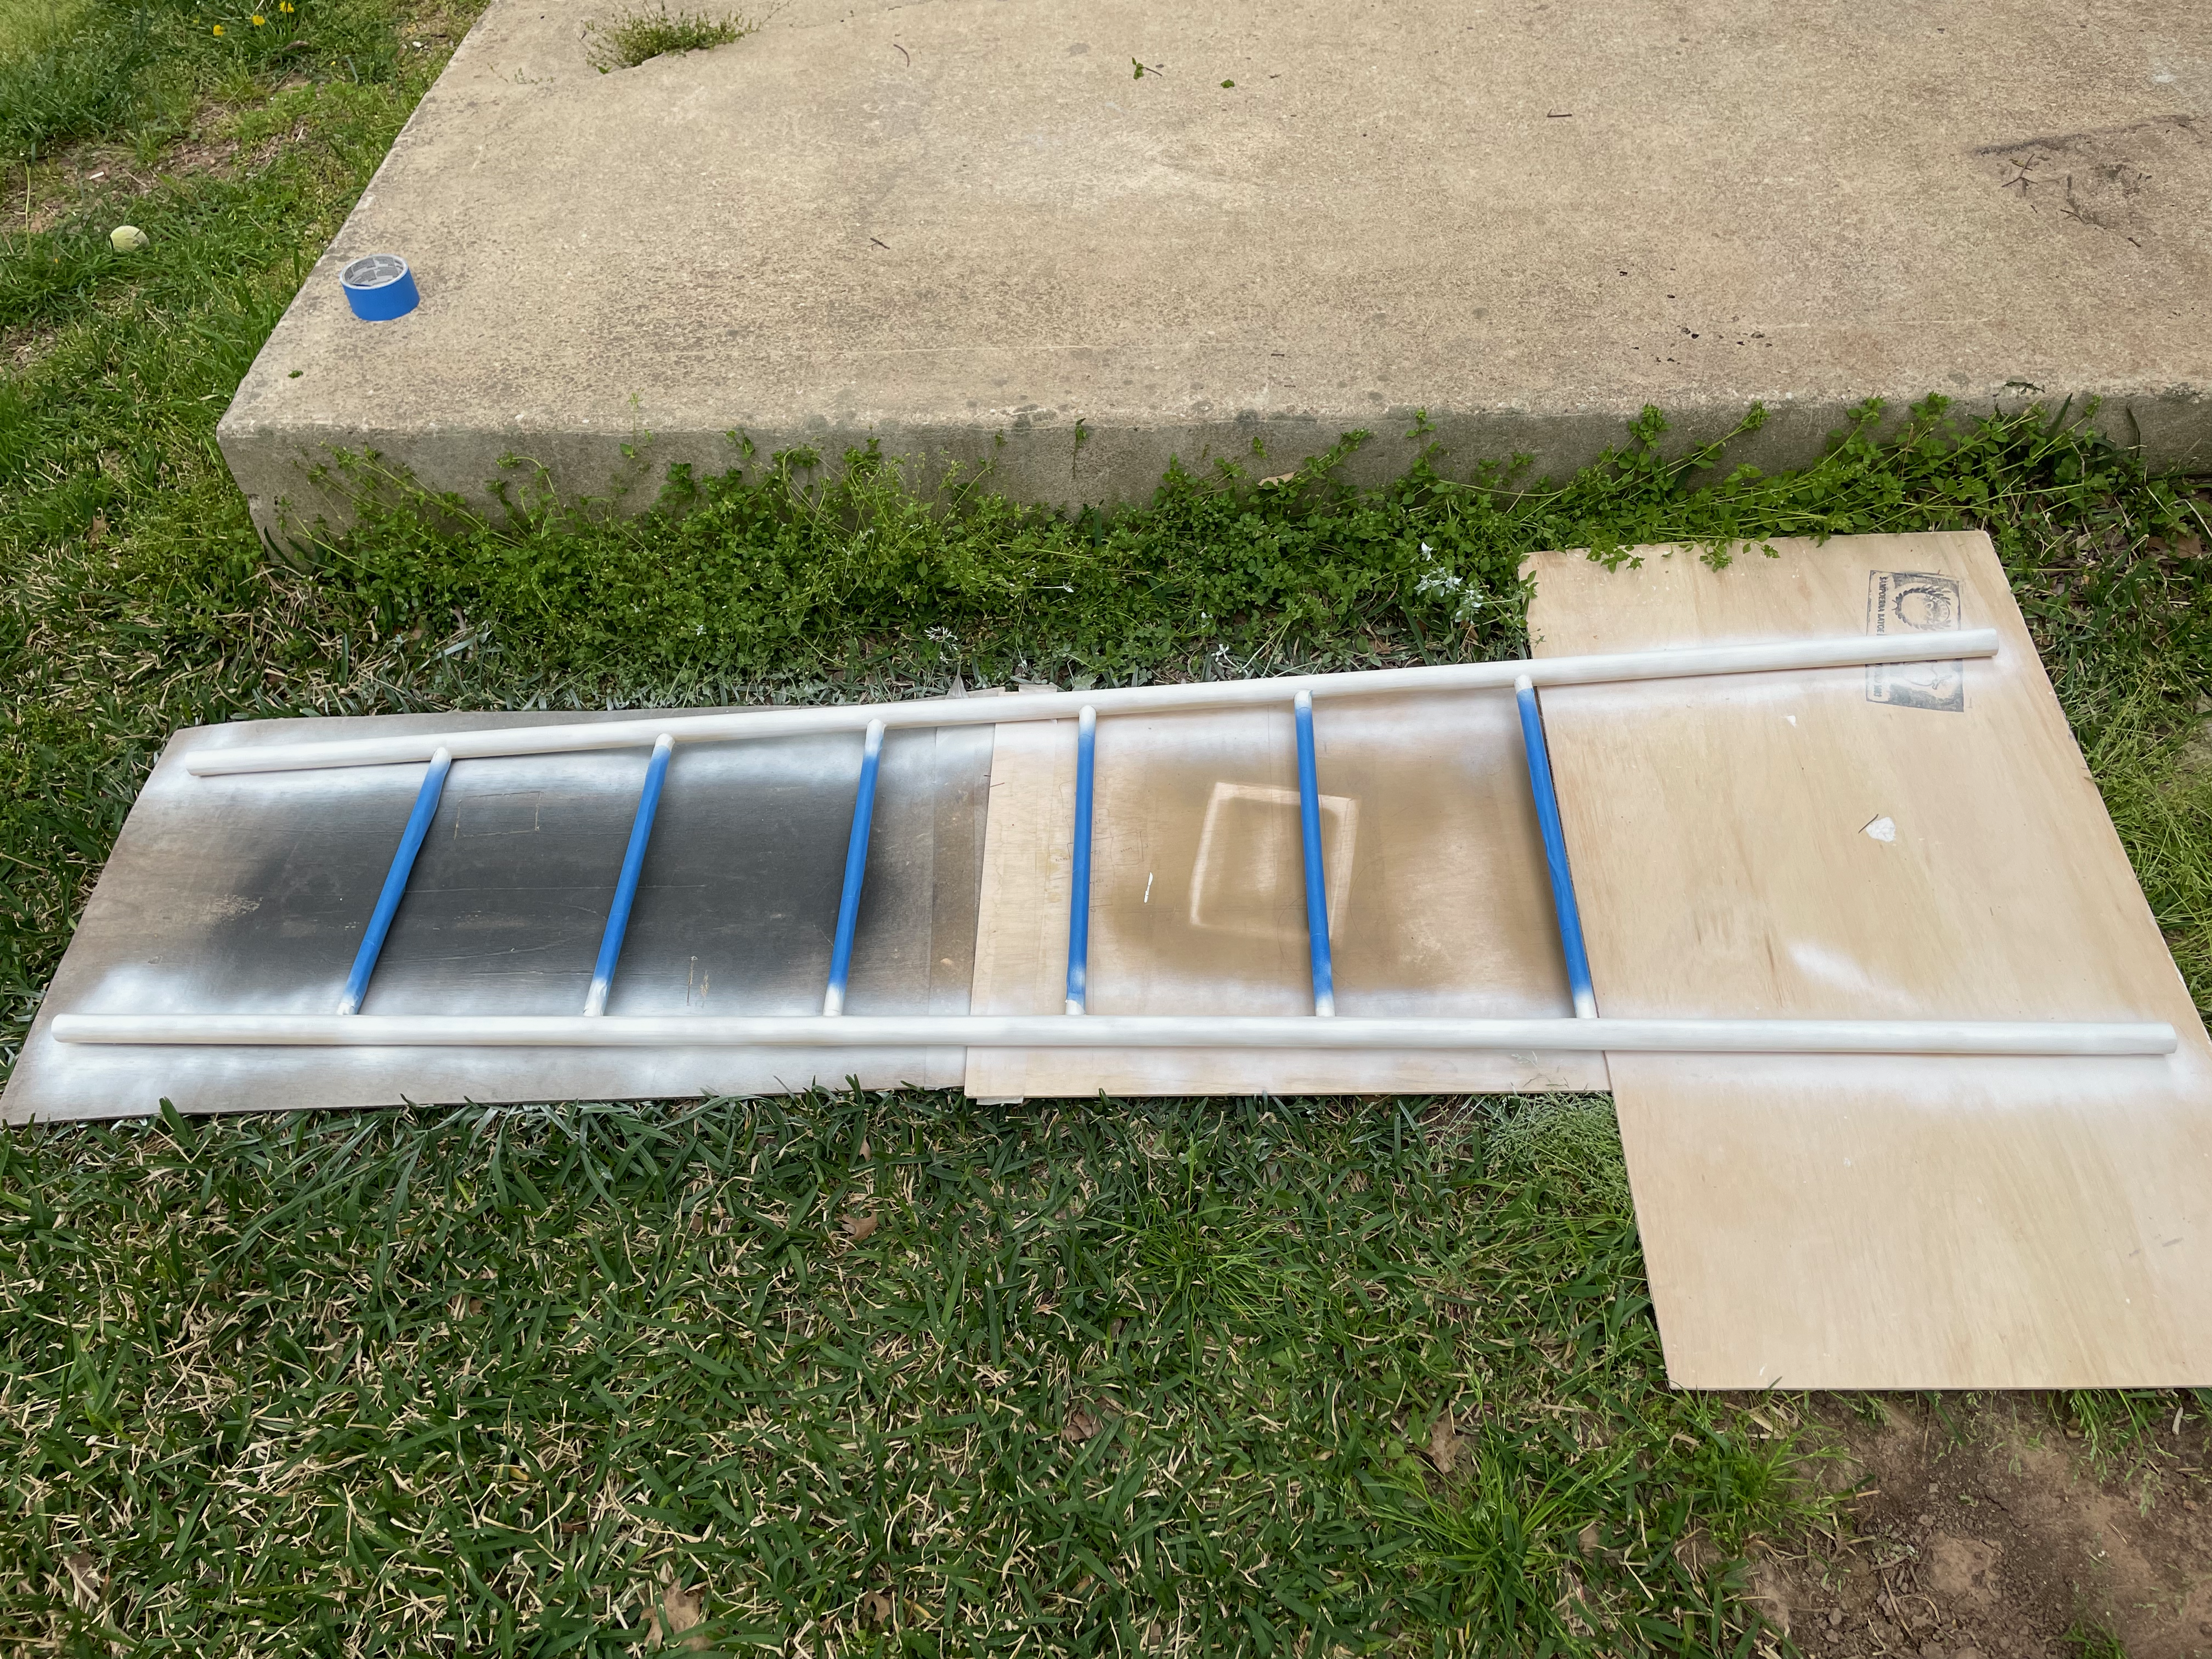
The final step was rounding the two outside edges and finishing. Since it was poplar on the outside, I wasn’t sure how well it would take the stain. I grabbed my test piece from earlier and wiped some stain on to see what it would look like. I was debating painting it, but wanted to see what it would look it.
Ultimately I didn’t love the look of the stained poplar and oak together, so I decided to go for a two toned approach with paint.
Image not found stain_test.jpg : image alt text
Painting
I first sprayed it with some primer to get good adhesion.
Then I painted several coats on the outside with some enamel paint I had laying around for a nice hard finish. I sealed the rungs with some general purpose sealer.
Overall I think it turned out really good.